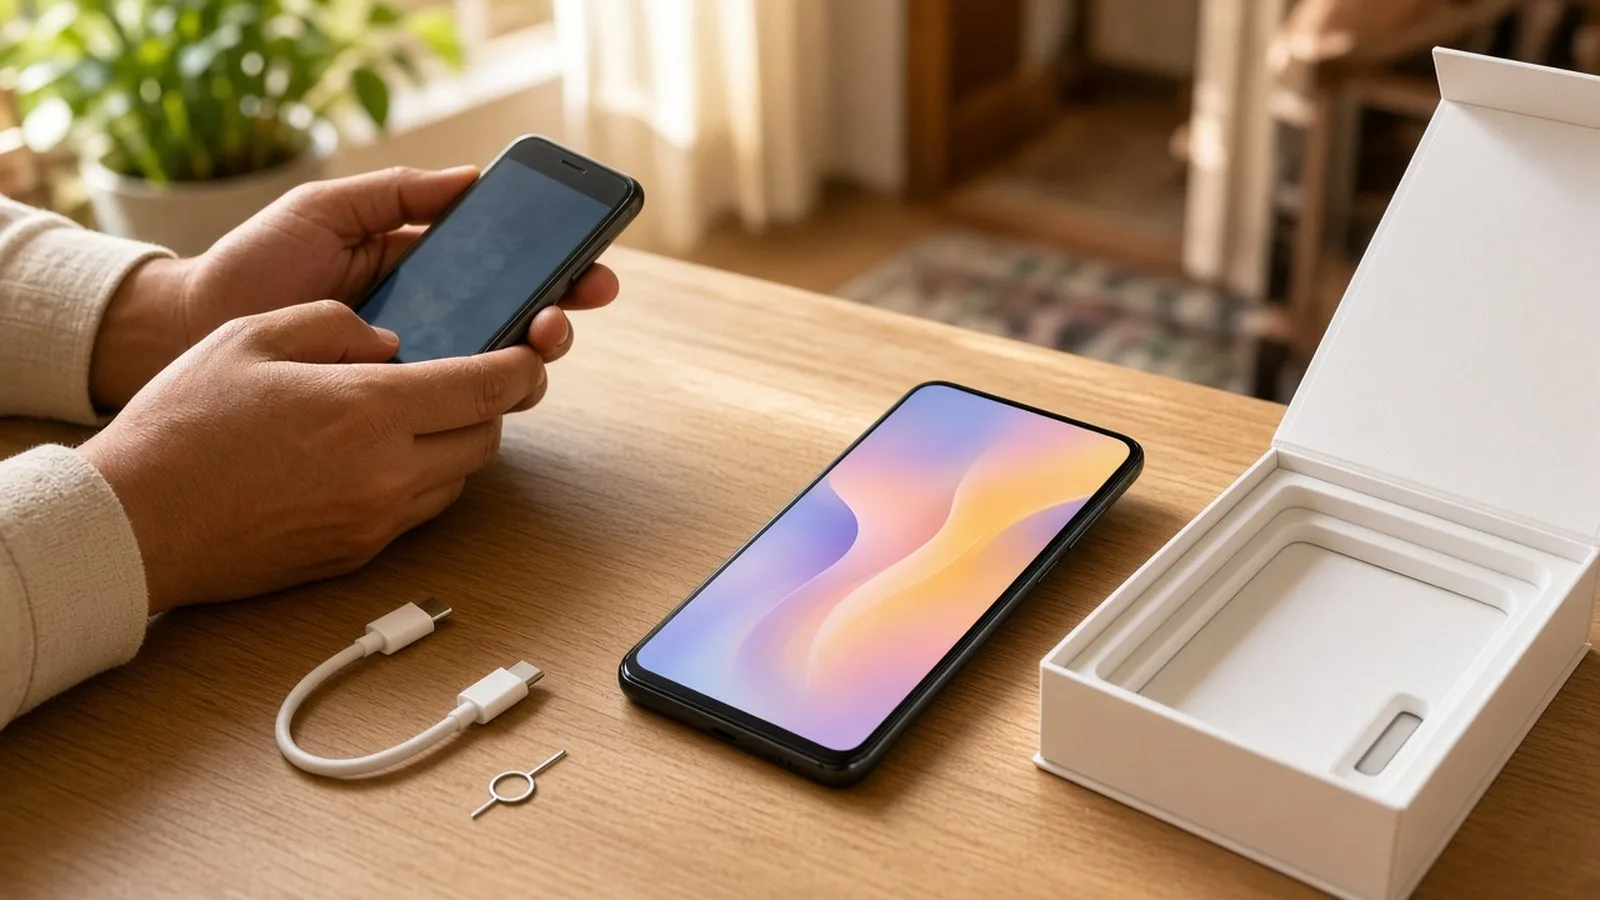
You have a new Android phone in your hands, the box is open, and the screen is asking you questions you have never seen before. Don't worry. This is Part 2 of our Tech for Beginners series, and we will walk through the whole setup, from the very first "Hello" screen to your home screen, one step at a time. We will also tell you which prompts are safe to skip and which ones you should say yes to.
If words like "app", "storage" or "OS" still feel new, read Part 1: Your First Smartphone, Parts, Buttons and Key Terms Explained first. It takes ten minutes and makes this guide much easier.
A quick note before we begin: Android phones are made by many brands (Samsung, Xiaomi/Redmi, Vivo, Oppo, Realme, OnePlus, Motorola, Google Pixel and others), and each brand changes the screens a little. The order of steps and the exact button names on your phone may differ from what you see here, but the ideas are the same everywhere.
Before you switch on: a 5-minute checklist
Keep these things ready and setup will go smoothly:
- Charge the phone. Aim for at least 50% battery, or keep it on the charger during setup. A phone that dies halfway through copying data is a headache.
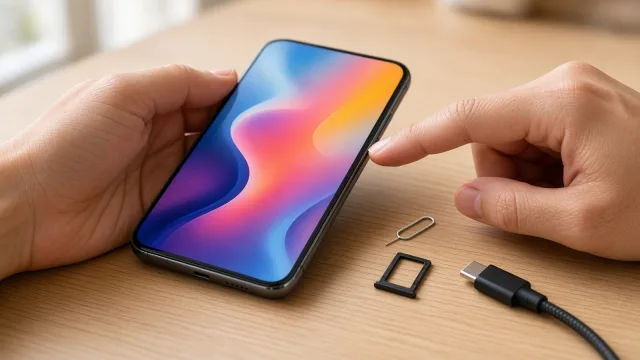
- Your SIM card. Use the small pin from the box to open the SIM tray and insert your SIM (Jio, Airtel, Vi or BSNL). Part 1 explains the SIM tray if you need help. Many newer phones also support eSIM, which your operator activates for you.
- Your Wi-Fi name and password. Setup downloads updates and apps, so home Wi-Fi is better than mobile data.
- Your Google account email (Gmail) and password. If you already use Gmail or YouTube on another phone, you already have one. Keep the old phone nearby too, because Google may send a confirmation prompt or code to it.
- Your old phone, if you want to copy things across, charged and unlocked, with its Wi-Fi and Bluetooth on.
Step-by-step: setting up your new Android phone
Step 1: Turn it on and choose your language
- Press and hold the power button for a few seconds until the brand logo appears.
- On the welcome screen, tap the language button. You will find English plus Indian languages such as Hindi, Tamil, Telugu, Bengali, Marathi, Kannada and Malayalam on most phones sold in India.
- Tap Start or Get started.
Tip: If you find small text hard to read, look for a Vision settings or accessibility option on this first screen. You can make text and buttons bigger right away, and change it again later.
Step 2: Connect to Wi-Fi
- Pick your home Wi-Fi name from the list.
- Type the password carefully. Capital and small letters matter. Tap the eye icon to see what you typed.
- Tap Connect.
No Wi-Fi? Most phones let you continue on mobile data or tap Skip and connect later. Just remember that apps and updates can use a lot of data.
Step 3: Accept the terms
You will see Google's terms of service and your phone maker's terms. Some screens bundle extra options, such as sending "diagnostic data" or receiving marketing. The main terms are needed to use the phone, but you can usually untick optional extras like marketing messages and usage-data sharing without any problem.
Step 4: Copy apps and data from your old phone (optional)
Next, the phone asks whether you want to copy apps and data. This is the easiest way to bring your contacts, photos, messages and apps across. Choose based on what you had before:
- Old Android phone: follow the on-screen steps to connect the two phones, either with a cable (a USB-C to USB-C cable works on most recent phones) or wirelessly. You then tick what you want to copy.
- iPhone: Android setup offers a way to copy from an iPhone too, by cable or by following the on-screen instructions on the iPhone. WhatsApp chats have their own transfer method, so follow WhatsApp's official help pages for that.
- Samsung to Samsung: Samsung phones also offer their own app called Smart Switch, which does the same job.
- Restore from a cloud backup: if your old phone backed up to your Google account, you can restore from that backup during setup.
- First smartphone? Tap Don't copy or Set up as new. Nothing is lost.
Copying can take anything from a few minutes to an hour, depending on how many photos and apps you have. Keep both phones close and on charge.
Step 5: Sign in to your Google account
Your Google account is the key to your Android phone. It lets you download apps from the Play Store, backs up your contacts and photos, and helps you find the phone if it is lost.
- Type your Gmail address and tap Next.
- Type your password and tap Next.
- If Google asks you to confirm it is you, approve the prompt on your old phone or enter the code sent to your mobile number.
Don't have an account? Tap Create account and follow the steps. Use a password you can remember but others cannot guess, and add your phone number for recovery. Never share the code Google sends you with anyone, even someone who says they are calling from a bank, the police or a phone company. Real officials never ask for it. Our guide on protecting yourself from UPI and online payment frauds explains these tricks in more detail.
Step 6: Set a screen lock
This is the one prompt you should never skip. Your phone will soon hold your UPI apps, bank SMS, photos and WhatsApp chats. A screen lock stops anyone who picks it up from seeing them. You can choose:
- PIN: a number code. Use at least 6 digits if your phone allows it, and avoid easy ones like 123456, 000000 or your birth year.
- Password: letters and numbers. Strongest, but slower to type.
- Pattern: joining dots. Easy, but people nearby can often guess it from watching you or from finger smudges on the screen.
Write your PIN somewhere safe at home (not on the phone's back cover) until you remember it. Your UPI PIN is a separate number set inside each payment app, so the two do not need to match, and it is safer if they don't.
Step 7: Add your fingerprint or face
Once a PIN is set, the phone offers fingerprint unlock and often face unlock. These are shortcuts that let you open the phone without typing the PIN every time.
- Tap Fingerprint (it may be called "Fingerprint Unlock" or "Biometrics").
- Place your finger on the sensor (on the screen, on the power button or on the back, depending on your phone), lift it and place it again, moving slightly each time until the progress bar fills.
- Many people add a second finger too, such as the thumb of each hand.
On many budget and mid-range phones, face unlock uses only the front camera, and phone makers themselves note it can be less secure than a fingerprint or PIN. It is handy, but for payment apps a fingerprint or PIN is the safer choice. Check what your phone's own settings screen says about this.
Step 8: Google services: what to turn on and what to skip
You will see a screen with several switches. Here is a simple guide:
- Back up to Google (or Google One backup): Yes. It saves contacts, settings and app data, so a lost or broken phone is not a disaster. Google gives free storage (15 GB at the time of writing, shared with Gmail and Google Photos).
- Location: Yes, for most people. Maps, cab apps, food delivery and finding a lost phone all need it. You can still control which apps use it later.
- Allow scanning (Wi-Fi/Bluetooth scanning for location): Optional. It slightly improves location accuracy. Off is fine.
- Send usage and diagnostic data: Optional. It helps Google improve Android. Off is fine.
- Install updates automatically: Yes. Updates fix security holes.
Step 9: Extra prompts you can safely skip
Before you reach the home screen, many phones show a series of offers. These are all safe to skip for now with Skip, Not now or Later:
- A second voice assistant or a brand account (for example a Samsung, Xiaomi or OnePlus account). Useful for some features, but not needed today.
- "Recommended apps" from the phone maker. Untick any you don't want, so the phone does not fill up with extra apps and games.
- Adding a second email account, setting up Google Pay or other payment apps. Do these later, calmly, when you are not in a hurry.
- Setting up "Hey Google" voice matching. Nice to have, not essential.
Say yes to anything about Find My Device (now called Find Hub on newer phones) if you see it. It lets you ring, lock or erase the phone from another device if it is lost or stolen.
Step 10: You're on the home screen
Well done! The phone may now quietly download your apps and updates in the background, so it can feel a little slow or warm for the first hour. That is normal.
Your first 10 minutes after setup
- Check for updates. Open Settings, then look for System or Software update (the name varies by brand) and install anything waiting.
- Update your apps. Open the Play Store, tap your profile picture, then Manage apps & device, and update all.
- Check that contacts and photos arrived if you copied from an old phone. Open the Contacts and Photos (or Gallery) apps to see.
- Add emergency information. Look for Safety & emergency or Emergency in Settings and add a family member's number. Remember 112 is India's single emergency number.
- Adjust text size and brightness under Display so the phone is comfortable to use. Long hours on a bright screen can tire your eyes, and our guide to reducing digital eye strain has easy fixes.
Common setup problems and quick fixes
- "No SIM" message: switch off, remove the tray, check the SIM sits flat with the cut corner matching the tray, and put it back. If it still fails, your operator's store can help.
- Wi-Fi won't connect: re-type the password slowly. Restart your Wi-Fi router if other devices are also struggling.
- Forgot Google password: tap Forgot password? on the sign-in screen and follow the recovery steps using your phone number or recovery email.
- Copying got stuck: keep both phones awake and on charge, close to each other. If it fails, you can finish setup and copy photos later through Google Photos backup.
Frequently asked questions
Can I set up an Android phone without a Google account?
Yes, most phones let you skip the Google sign-in. But without it you cannot use the Play Store, automatic backup or Find Hub, so for most people it is worth signing in.
Is it safe to let a shopkeeper set up my phone?
It is better to do it yourself, or with a family member you trust. Type your own Google password and screen lock PIN, and never share OTPs. If someone else has set it up, change your PIN afterwards.
How long does setup take?
About 15 to 30 minutes for a fresh setup. Copying from an old phone with many photos and apps can take longer.
Can I change these choices later?
Almost all of them. Language, screen lock, fingerprints, backup, location and accessibility can all be changed from Settings at any time.
What's next
That's it: your Android phone is ready and protected with a screen lock. In Part 3, we'll do the same for the iPhone, step by step. Using Android? Stay with the series anyway, because later parts cover the Play Store, WhatsApp, UPI and staying safe online, and spotting scams like "digital arrest" calls is a skill every new smartphone user needs.